Add Workflows Page
Start from Previous Solution
If you wish to use the previous solution as a starting point:
git clone https://github.com/Aquaveo/tethysapp-workflows_tutorial.git
cd tethysapp-workflows_tutorial
git checkout -b added-manager-files-step added-manager-files-step-complete
Add New Controller
Now you'll need to add the main workflows page to your application. Replace the code in controllers.py with this:
/tethysapp/workflows_tutorial/controllers.py
from tethys_sdk.routing import controller
from tethysext.workflows.views.layouts import WorkflowLayout
from .app import App
from .map_manager import MapManager
from .spatial_manager import SpatialManager


@controller(name="home", url="home")
class WorkflowLayoutController(WorkflowLayout):
    app = App
    base_template = 'workflows_tutorial/base.html'

    def __init__(self):
        super().__init__(SpatialManager, MapManager, App.DATABASE_NAME)
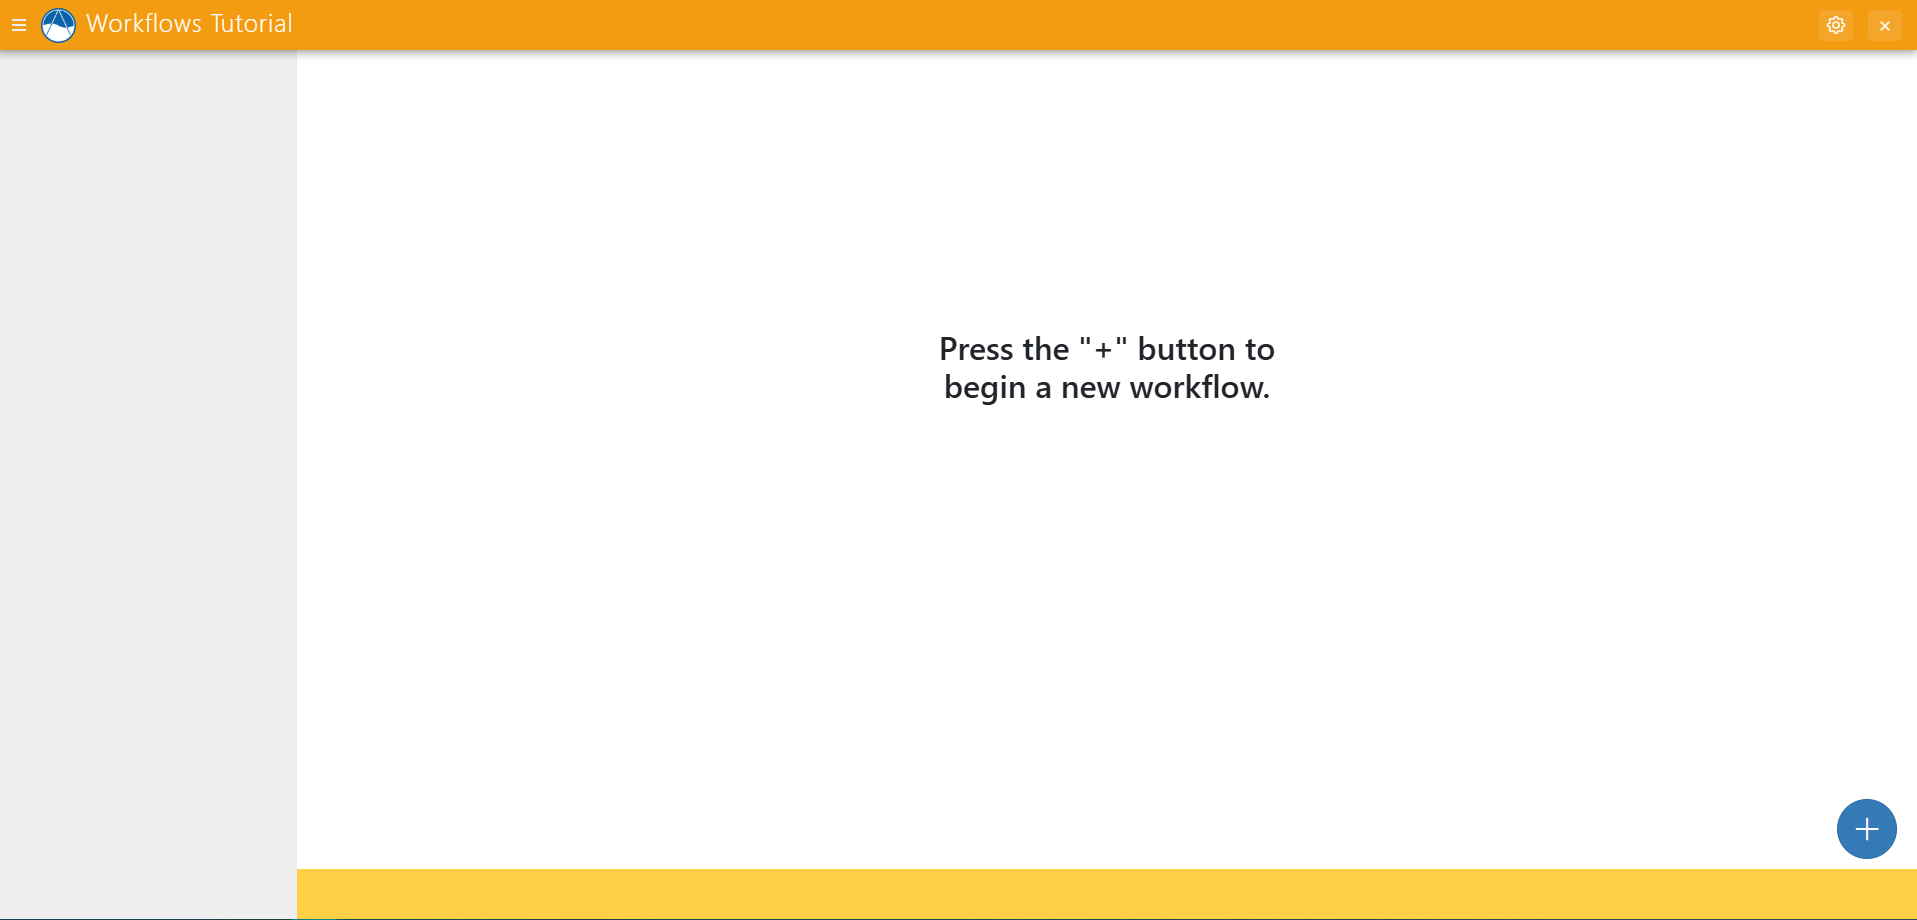
Now, reload your tethys app in the browser and you should see something like this:
Solution
This concludes the Add Workflows Page to Controllers portion of the Tethys Workflows Extension Tutorial. You can view the solution on GitHub at https://github.com/Aquaveo/tethysapp-workflows_tutorial or clone it as follows:
git clone https://github.com/Aquaveo/tethysapp-workflows_tutorial.git
cd tethysapp-workflows_tutorial
git checkout -b add-workflows-page-step add-workflows-page-step-complete